The other day, I needed to pick up some stuff for dinner on the way home from work so I stopped by a local fruit and veggie stand. I had a list in my head: zucchini, mushrooms, peas, and maybe some grapes or something to snack on later. When I got to the checkout line, there was a lonely little half flat of raspberries that was marked "These berries, $7.99!" I asked one of the workers why it was marked down from $15 and he told me that the box had sat in the sun too long and some of the berries had "sunstroke". I'm not entirely sure if he was joking or if it's an actual term, but I giggled and said I'd take them.
As I was checking out, I thought to myself...
"What the heck am I going to do with 4 pounds of berries that I'm allergic to?!"
Oh duh, l'll make jam!
For some reason, cooking the berries breaks down some enzyme that makes it safe for me to eat (yay!) Though it was incredibly tempting to pop a few of the berries as I was cleaning and sorting them, I resisted! It's what I imagine making cookies is like while you're pregnant. Eating the raw dough is sometimes the best part, and from what my sister tells me... it's so hard to resist while you're pregnant!
Anyway, on to the jam making!
Raspberry Jam!
Ingredients:
- 10 cups of raspberries
- approximately 6 cups of sugar
...that's it!
Wash and shake the berries dry. Carefully pick through the berries to look for any bugs or mold, as raspberries (especially organic) tend to go bad very fast.

Place all of the raspberries into a large pot, preferably a dutch oven if you have one.
(NOTE: make sure that your pot is very large as the raspberry/sugar mixture will double in size while it's boiling!)
Cook on medium high, stirring occasionally, until all of the raspberries have broken apart and it looks a little like this:

While you are cooking your raspberries, fill a large stock pot with water and boil your mason jars and lids to sanitize them. Once sanitized, lay them out to dry carefully.

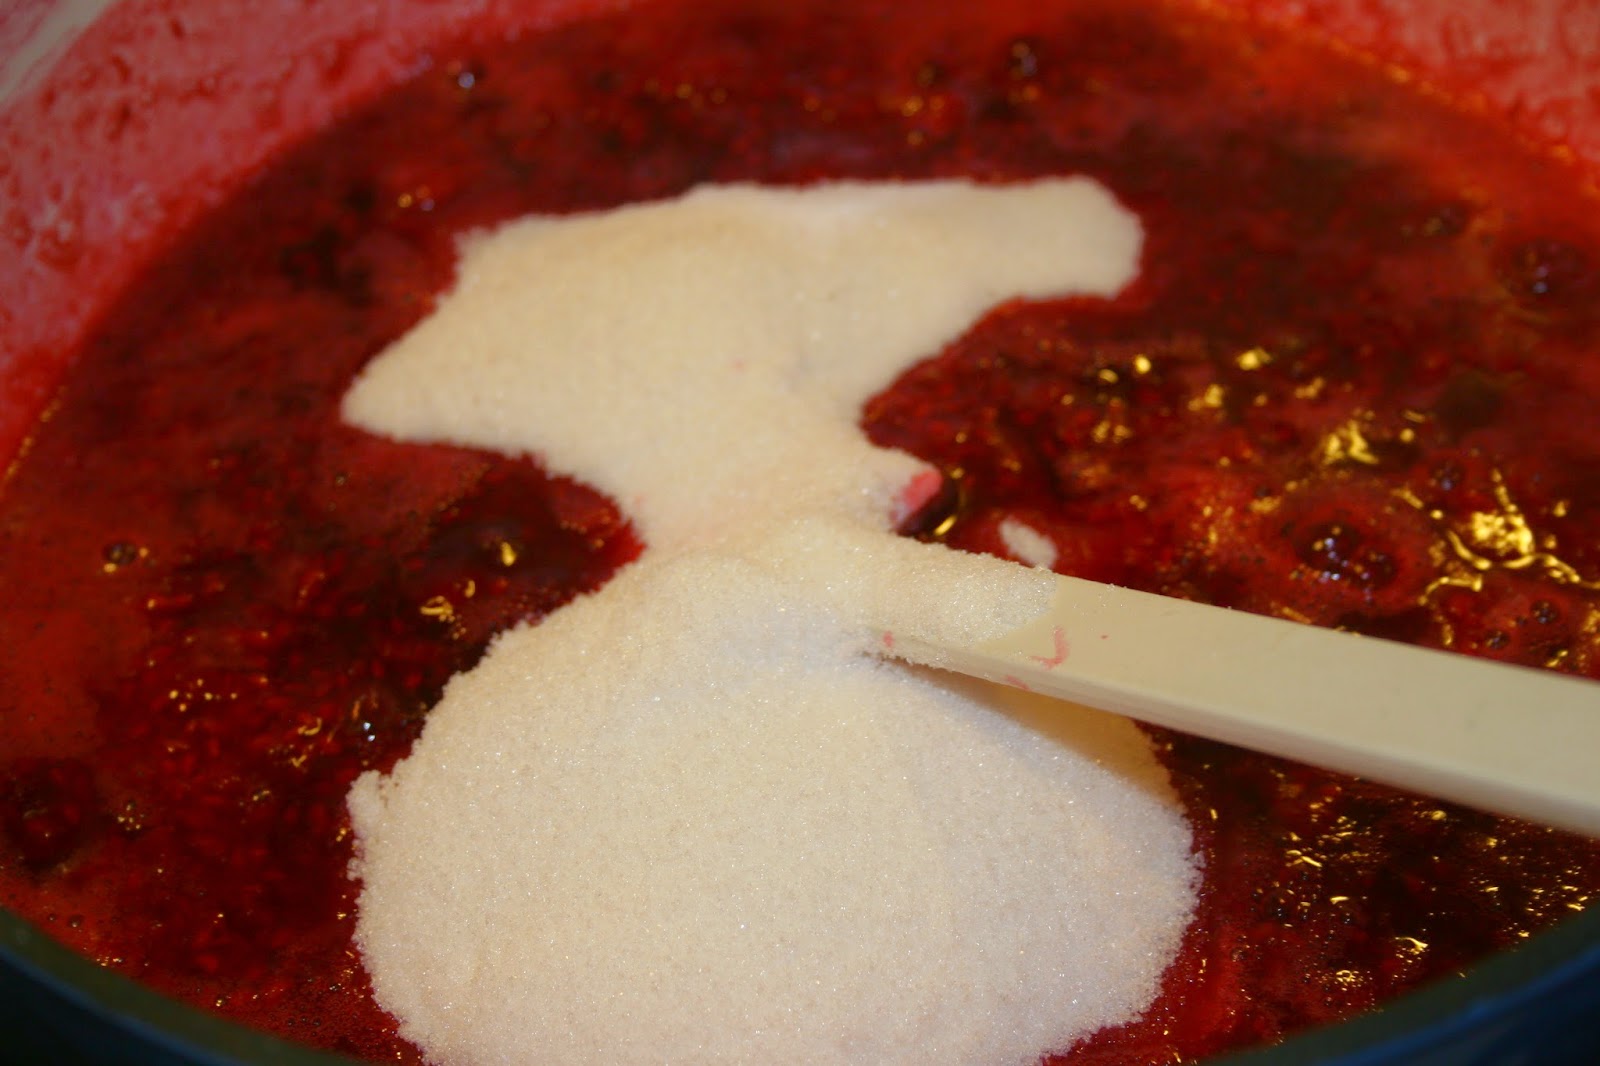
Add all of the sugar and stir frequently. Bring to a hard boil (where it doesn't stop bubbling while you stir) and cook for approximately 15-20 minutes.
Your jam will boil up like this... keep stirring!

Skim off the foam!

Place a spoon or a small plate in the freezer. You will be using this to test how well your jam is setting up. It's particularly important when not using pectin!

When using a spoon to test, dip the spoon in the jam and see how it falls off. The best way I can think to describe it is this: when two droplets form on the underside of the spoon, but connect before falling into the pot. (Does that make sense? Hopefully! haha)

My spoon picture
didn't turn out so well, so I took a picture of the spatula.

Even though I used the spoon method this time, the method I prefer is the cold plate method. You place a small plate in the freezer and when you think your jam is done, you place a small dollop of it on the plate and tilt it to the side. If it gels up, it's ready!
Bottle up your jam and you're good to go! This way, it will stay goof for 3 weeks in the fridge. If you want it to stay fresher longer (without needing to be refrigerated) make sure you boil the jars! (I can do a separate entry on this if anyone wants!)

Enjoy your jam or give it away to some friends! :)
